Well, here I am, finally getting around to posting again. It's been a tough year with both of my parents taking turns being gravely ill, and then just when things seemed to finally be settling down and getting better, my father suddenly passed away in early June. It's been 5 weeks now, and I'm slowly getting back into some sense of normalcy. We were very close and there are no words for how much I miss him, and my job now is to do my best to carry on with my life in a way that honors his memory. I could write a book about everything I learned during that process of acting as Power of Attorney for them and dealing with multiple government agencies, and now that it's over it's been almost as hard adjusting to having my life back now that my mom is getting back on her feet. Every minute of frustration and almost daily meltdowns was worth it for the comfort and peace of mind it gave them knowing things were being taken care of. I owe my life to my parents, so I'm happy I was able to take care of things for them.
So, now it's time to move forward. I have still been cooking and baking, and taking pictures along the way, so now I will try to get it all organized and share what I've done with you.
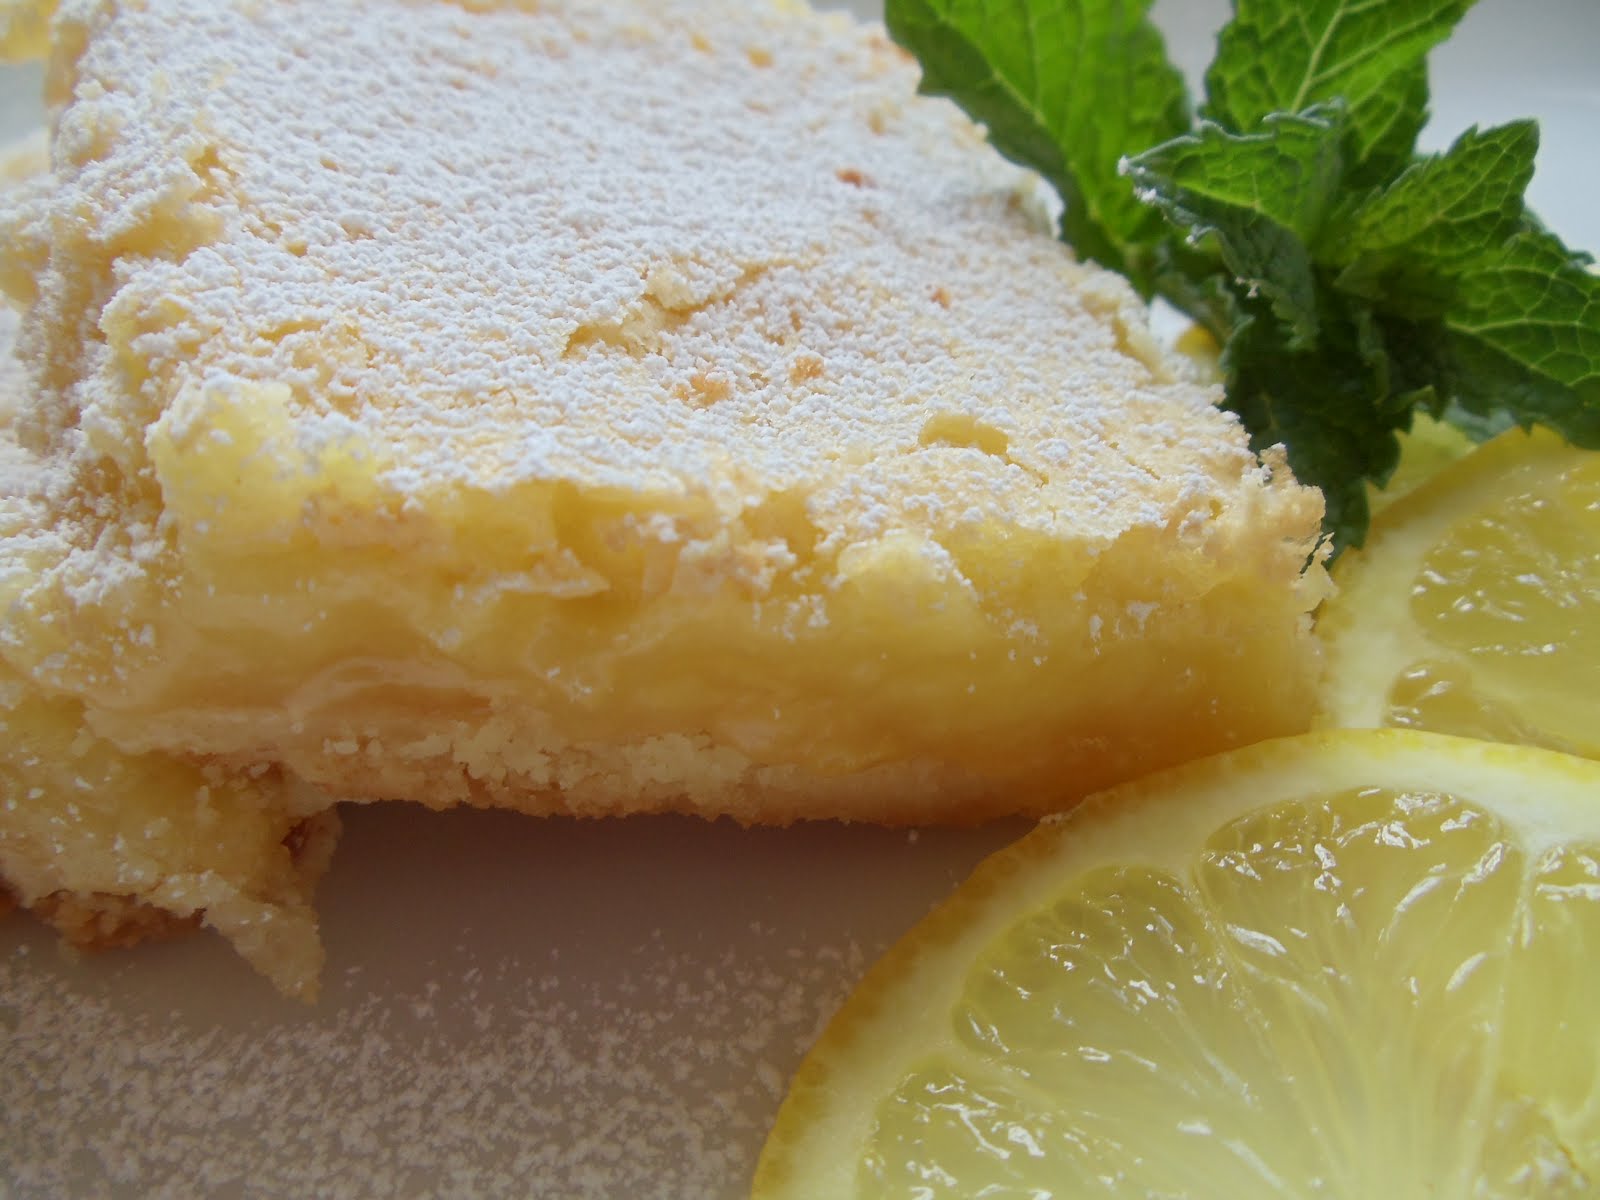
This recipe is an old one, I got it from a co-worker (Mary D.) back in 1979. Some of my best recipes I got from nurses I've worked with over the years! If you live in the Omaha area and remember the Garden Cafe, this is a pretty close duplicate to the lemon bars they made. It's always been a favorite whenever I've made it, with it's tender crust and slightly tart but not too sweet custard-like lemon filling. Mmm...
Alright then, let's get down to business!
LEMON BARS
Heat your oven to 350 degrees F.
For the crust, here's what you'll need:
3/4 cup powdered sugar
1 cup butter (2 sticks) softened
2 cups flour
1/2 tsp salt
For the Lemon Filling:
4 eggs
2 cups sugar
4 heaping Tbsp flour
1 tsp baking powder
Juice of 2 large lemons (about 5 tablespoons of juice)
to make the crust, first gather your ingredients. I like to get everything measured and organized before I start:

Mix all the ingredients for the crust together and pat it down into a 9 x 13 inch baking pan. I used a pastry cutter, it should be crumbly somewhat like pie crust dough.

The recipe doesn't say to grease the pan, but I used a baking spray because the lemon filling tends to stick to the sides of the pan.

Bake the crust for 20 minutes, then set it aside to cool a bit while you make the filling. You don't want it too brown because it goes back into the oven later. Here's what it should look like:

Now, gather your ingredients for the filling:

My lemons weren't "large", so I only got 4 tablespoons of juice, but a neat trick I learned saved me. Earlier this year I found bags of Meyer lemons at Walmart for 5 bucks, so I bought a bunch of them, squeezed the juice out, and froze it in ice cube trays, so I just grabbed a cube of frozen juice and it was enough to make up the difference. You will also get more juice if you roll the lemons around on the counter, or pop them into the microwave for a few seconds, but I like to use one of those hand held juice squeezers. Also, to get more flavor out of the lemons I grated in the zest from one of the lemons.

So, mix all this together with an electric mixer until it's well mixed and starting to get a little bubbly.

Pour it onto the baked crust.

Pop this back into the oven and bake for 25 minutes.
Here's what it looks like when it's done:

Dust the whole thing with powdered sugar when it's cooled completely. Don't even try it if it's the least bit warm because the sugar will melt into a hot mess, and it won't be pretty. Even if you spray your pan you will probably still need to run a knife around the edges before cutting because it does tend to stick to the sides. You shouldn't need to refrigerate the leftovers, it doesn't usually last long enough to need refrigeration.
Pucker up people, you're going to love this!


